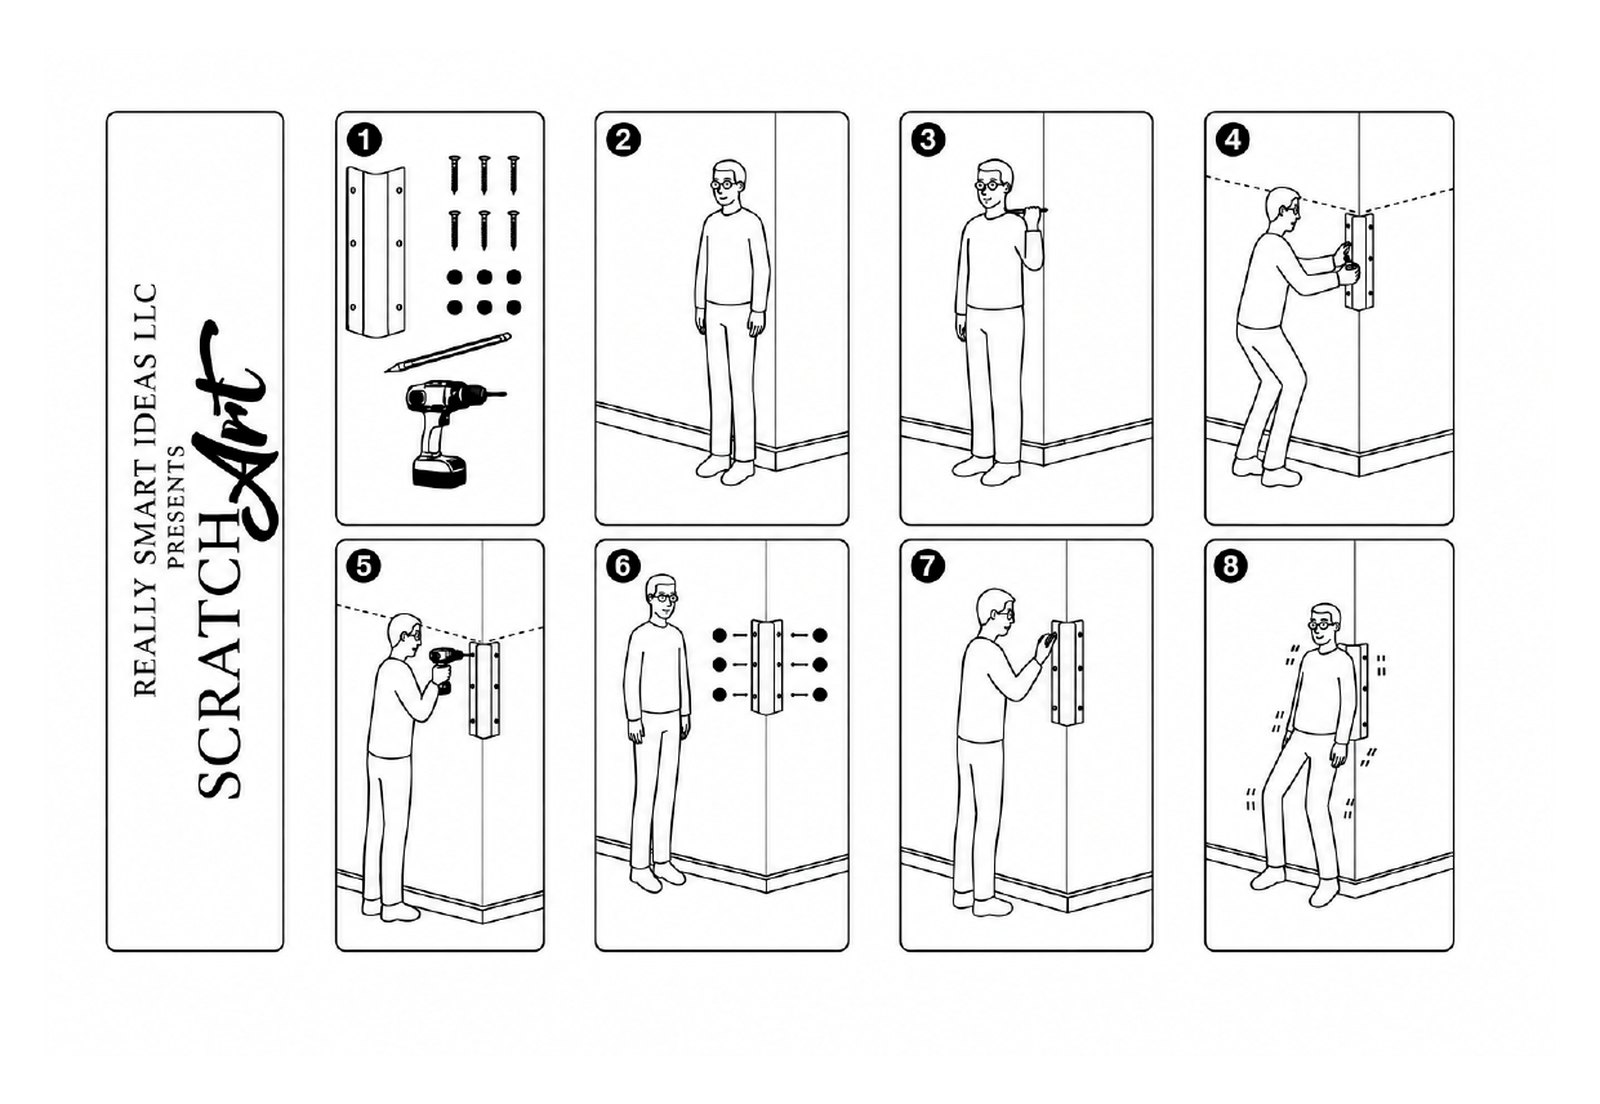
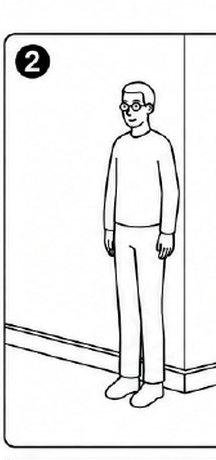
Stand at your corner
Choose a ninety-degree outside corner — a hallway turn, a living room alcove, a bedroom corner.
Installation
Six easy steps. One outside corner. A piece that disappears into the room as art.
Choose a ninety-degree outside corner — a hallway turn, a living room alcove, a bedroom corner.
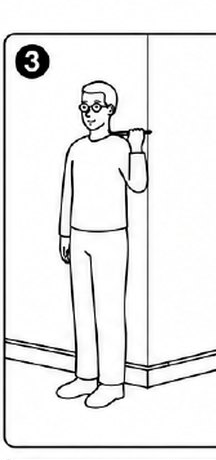
Reach over your shoulder and mark the spot with a pencil. That is where the scratching feels right.
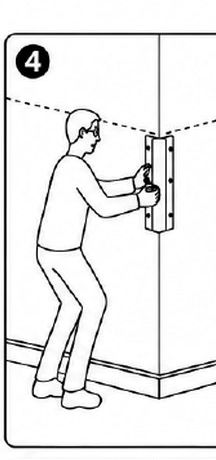
Set the piece on the corner with the top at your mark.
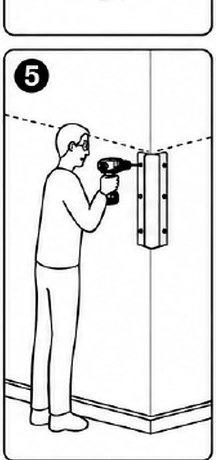
Drive the six supplied screws with a screw gun. A screwdriver works, but it takes a strong arm.
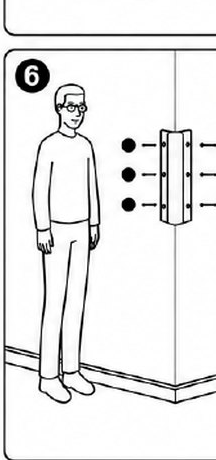
Press a plastic cap over each screw head for a clean finish.
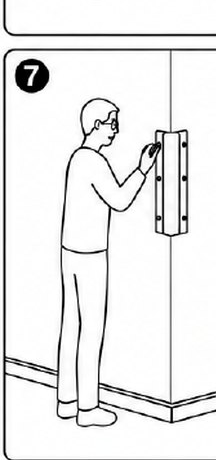
Give the piece a firm press to confirm it is snug. Then step back — it reads as sculpture.
Technical notes
Every piece ships with six screws and matching plastic caps. Drive the screws directly into the outside-corner structure — no hidden bracket. The caps hide the screw heads for a clean finish.
Tools: a pencil and a screw gun. A screwdriver works, but it takes a strong arm. Mark shoulder height for the top of the sculpture, as shown in the installation illustration above.
Send us a photo of your space and we will confirm fit and placement.
Get in Touch